Start with the actual order
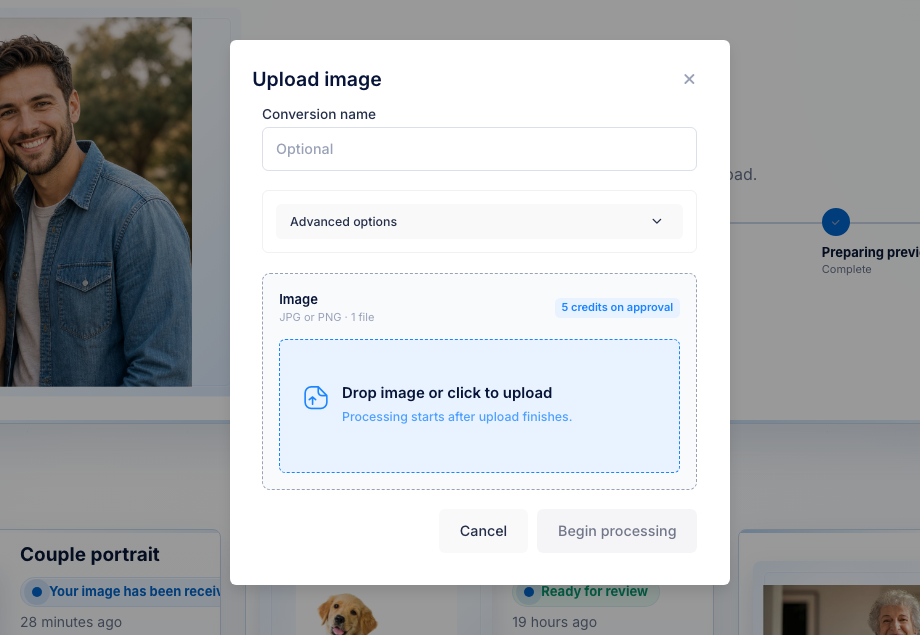
Use the customer JPG or PNG, not a placeholder asset.


ComMarker Omni 1 workflow
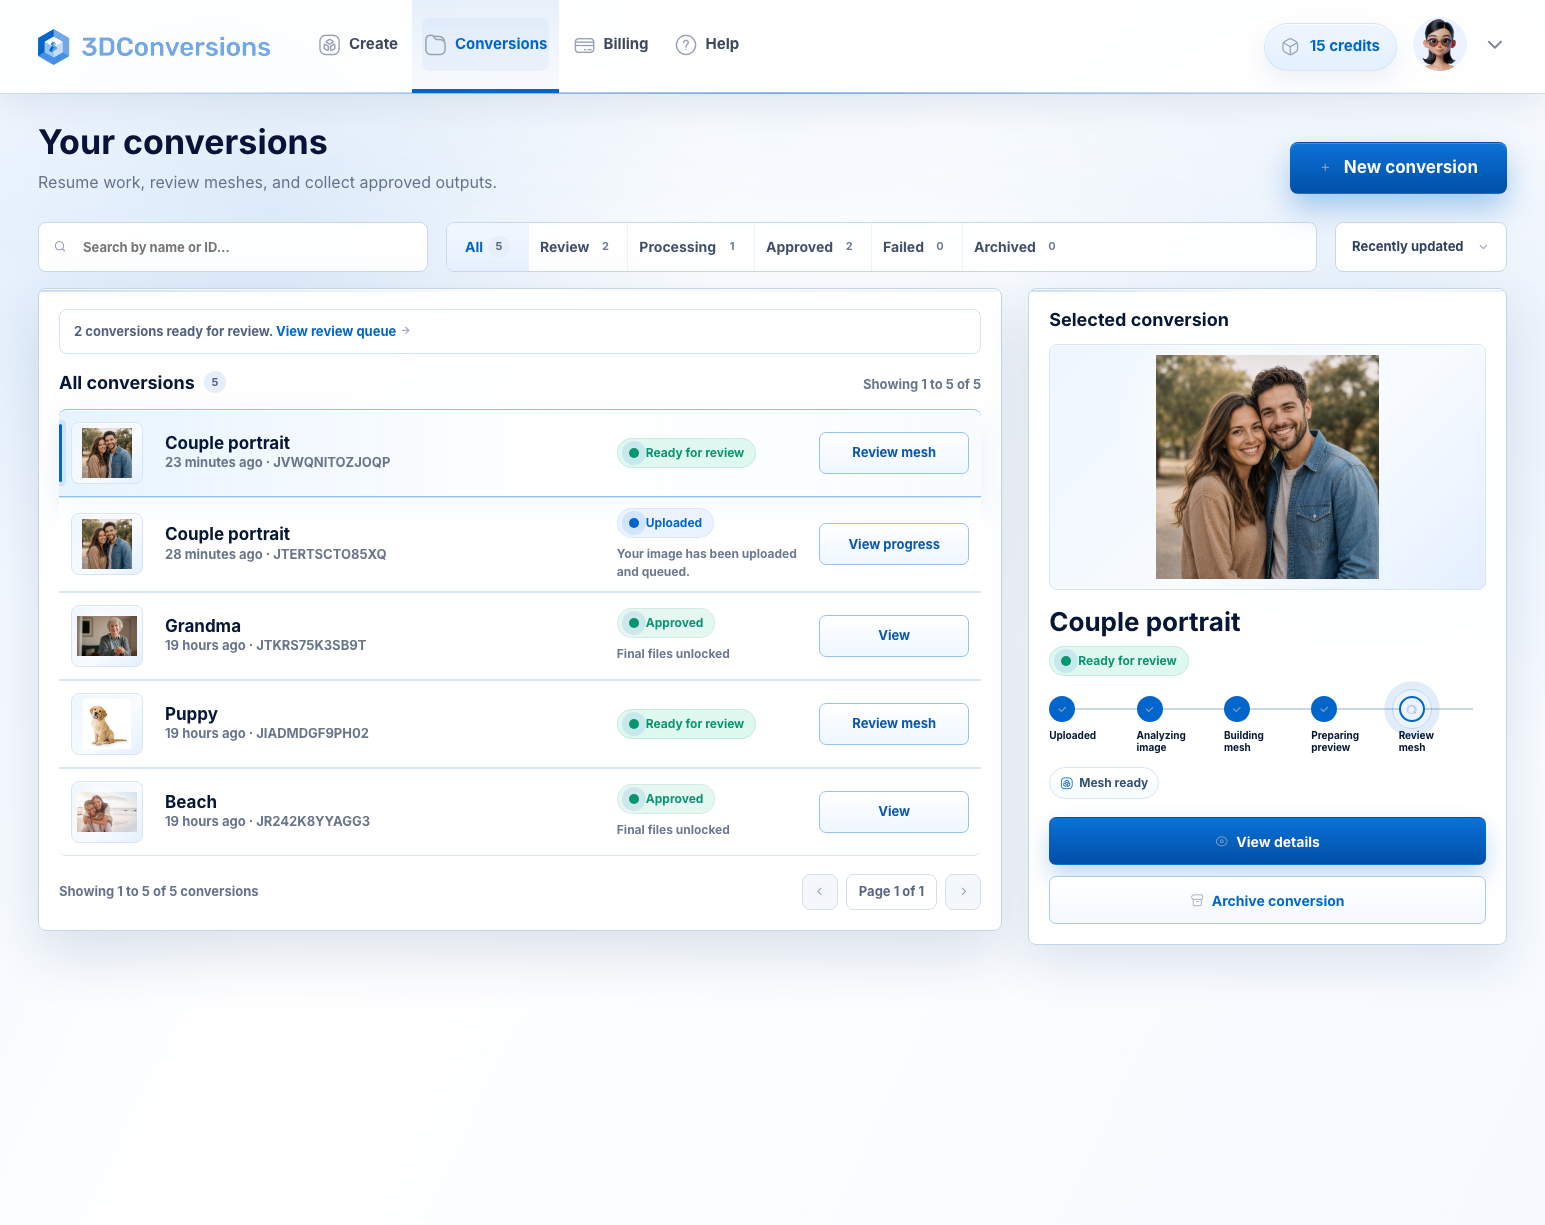
The Omni 1 can make UV laser engraving feel more reachable, but customer photos still arrive flat. Before you promise a photo-based product, upload the image, preview the generated 3D depth, then approve final files only when the result is usable.
No credit card required. 25 free credits included, enough for 5 approved files. Upload and preview are free. Approved files use 5 credits ($5 USD). 3DConversions is not affiliated with ComMarker.
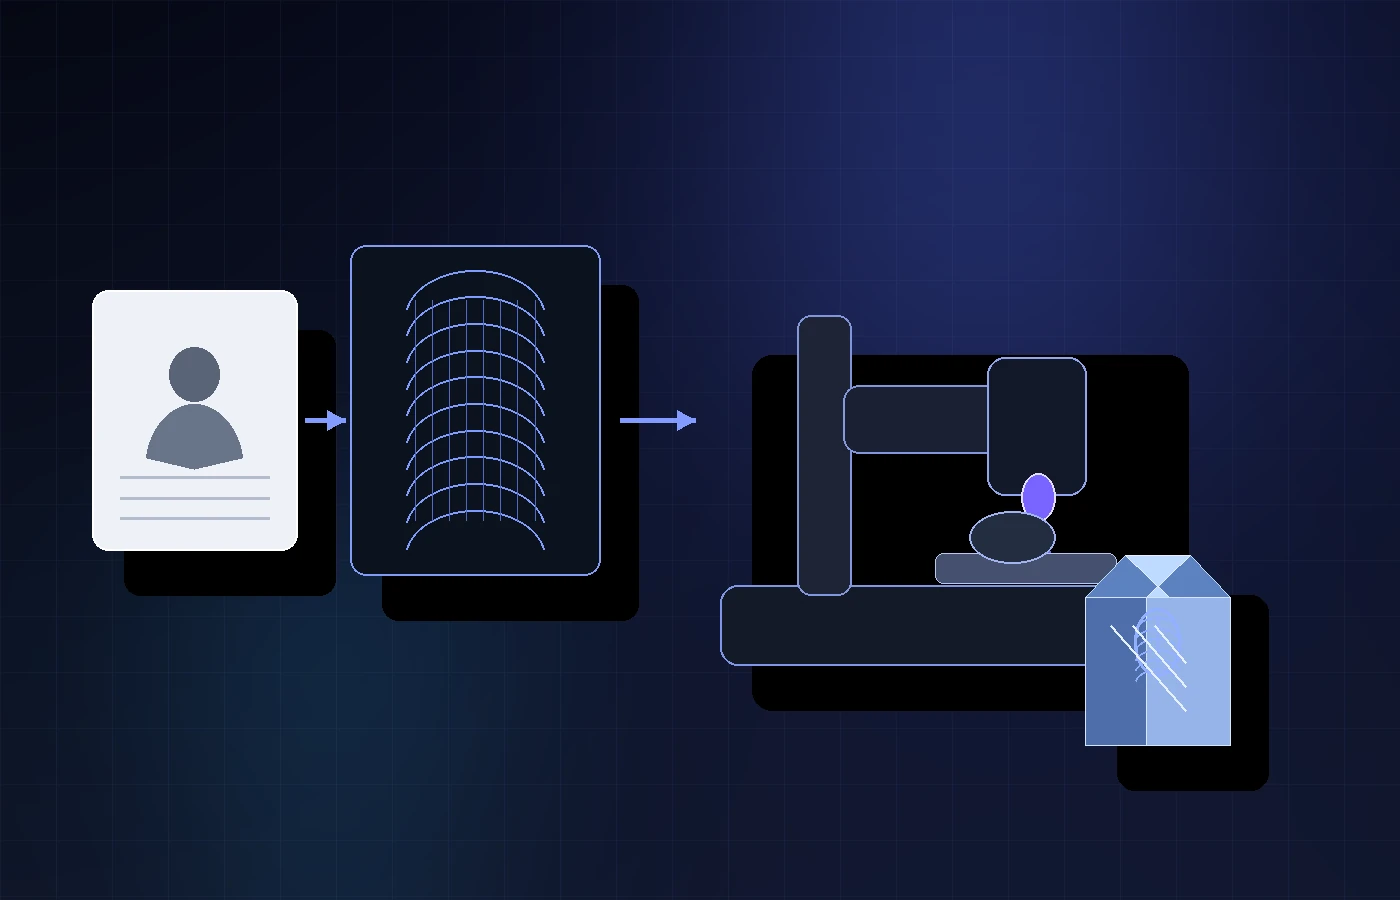
The machine marks the material. The photo still needs depth.
Omni 1 owners may be testing UV photo engraving, surface marking, software handoff, and what their exact setup can sell. Keep the risk small: test the real customer photo first, approve only if the generated 3D depth looks usable, then verify the file inside your Omni 1 workflow.
Use the customer JPG or PNG, not a placeholder asset.
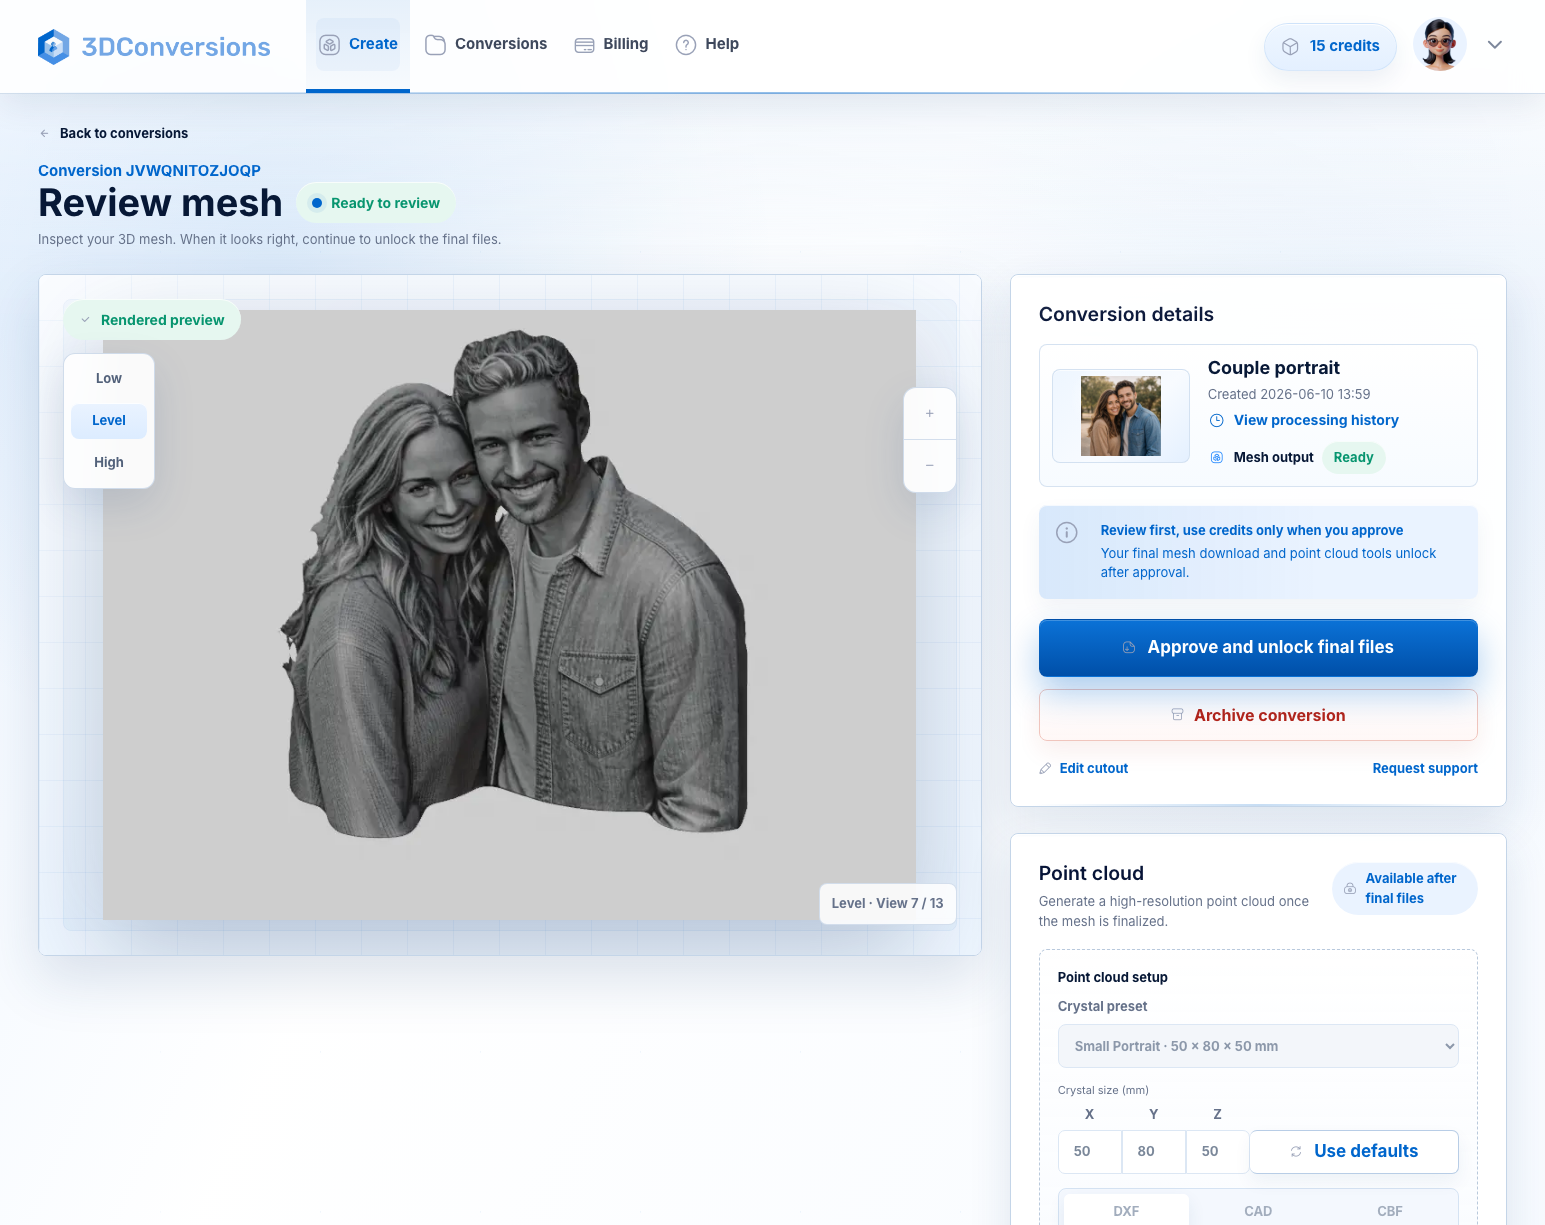
Review face depth, subject edge, and contrast before spending credits.
Download OBJ plus DXF, CAD, and CBF exports after approval.
Engraving mode, import path, settings, material behavior, and calibration remain your workflow.
Workflow
A practical check before you quote, schedule, or promise a customer-facing photo product.
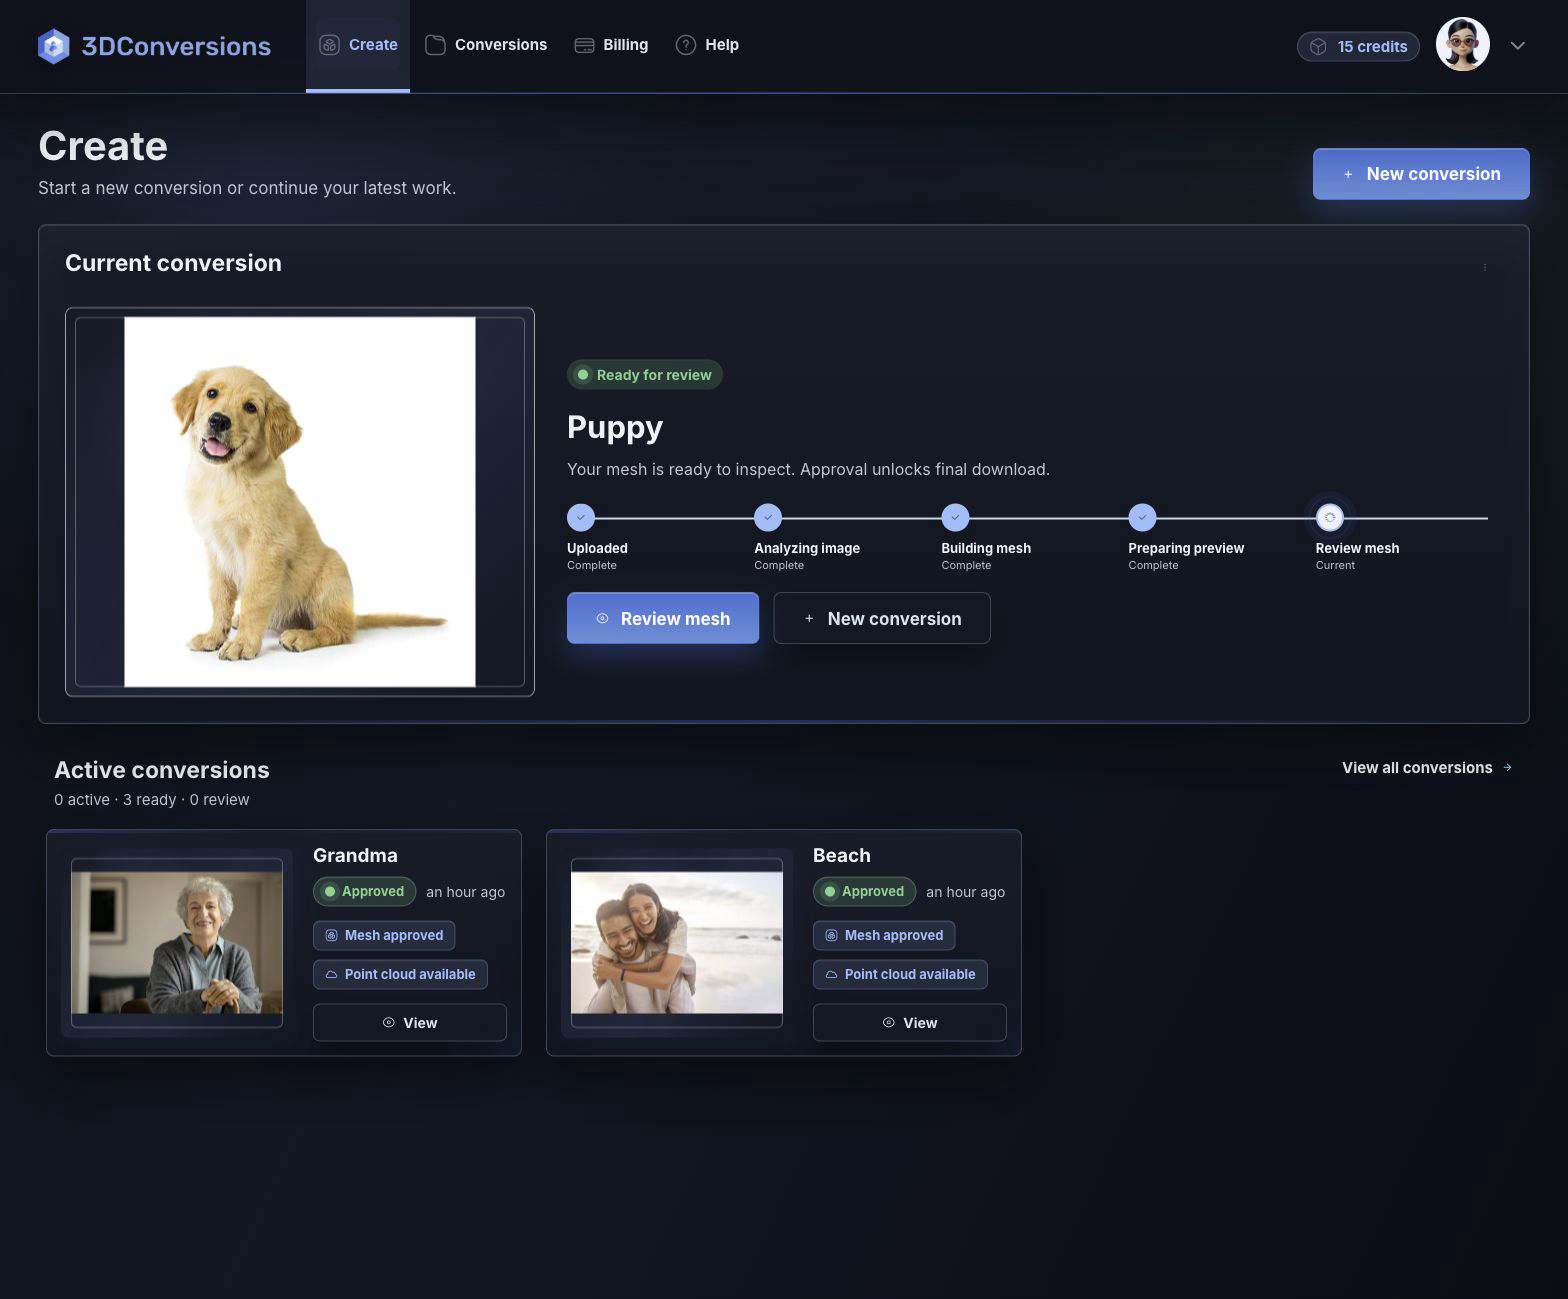
Use the customer image attached to the order.
Review subject shape, face depth, and edges before approval.
Approve final files, then verify import and engraving behavior in your machine software path.
Start with customer image files.

OBJ mesh plus point-cloud exports after approval.
DXF, CAD, and CBF after approval.
per approved file
1 credit = $1 USD. Upload, processing, and preview are free.Downloads are available after approval and include OBJ mesh plus DXF, CAD, and CBF point-cloud exports.
File and output details
3DConversions prepares the reviewable 3D result from the customer photo. It does not guarantee a specific Omni 1 engraving mode, direct import path, or machine setting.
Example result
A portrait, pet image, memorial photo, or product shot may look usable until it needs shape. Preview the generated mesh first. If the result is weak, do not approve it. If it is ready, download OBJ plus DXF, CAD, and CBF exports and continue with your verified machine process.
Start free with 25 credits
Depth build
FAQ
No. 3DConversions is not affiliated with ComMarker. This page is an independent file preparation workflow for operators researching ComMarker Omni 1 UV laser photo engraving.
No. 3DConversions creates photo-to-3D files you can inspect before approval. Your machine software, controller support, device profile, conversion steps, and settings remain separate.
3DConversions prepares photo-to-3D file outputs. You still need to confirm whether your exact Omni 1 setup supports the intended engraving mode and import path before offering customer work.
Confirm the intended job type, import path, material behavior, focus, fixture, and final engraving quality with your exact Omni 1 setup. 3DConversions prepares the photo-to-3D file; your machine workflow still determines the production result.
After approval, you can download OBJ mesh plus DXF, CAD, and CBF point-cloud exports.
Each approved file uses 5 credits ($5 USD). Free signup includes 25 credits, enough for 5 approved files. Uploading, processing, and previewing are free. Credits are used only when you approve final files.
Start with one Omni 1 customer photo
Upload one customer photo, preview the generated 3D depth free, then approve final files for 5 credits ($5 USD) only when the result is ready.
No credit card required. 3DConversions is not affiliated with ComMarker.